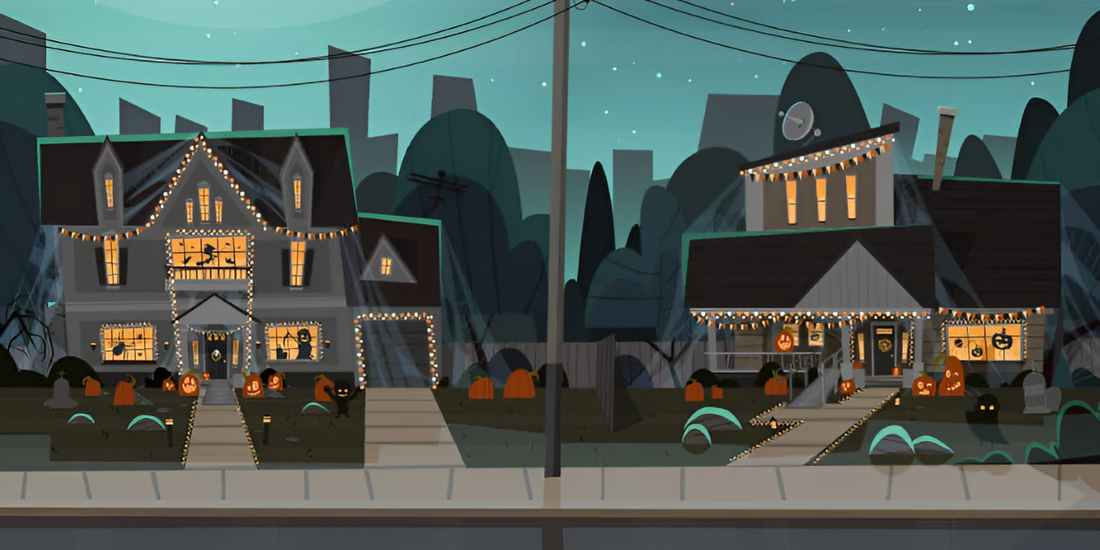
Trick or treat, smell my feet, let’s enjoy Halloween from our seat!
Halloween is a special time of year for dressing up in crazy outfits and scaring friends. It’s something that children of all abilities deserve to enjoy. With this in mind, we created a list of ways to create a DIY haunted house that’s wheelchair accessible!

Build a Spiderweb Tunnel
A spiderweb tunnel makes for a spooky entrance over a wheelchair ramp. To build the tunnel of web, you’ll need PVC pipe, fake spiderwebs that you can get at most craft or Halloween stores, and plastic spiders.
Once you have all the materials, build the bones of the tunnel around the wheelchair ramp. The tunnel needs to be wide enough that it does not obstruct wheelchair users from using the ramp and railings if necessary, and tall enough so that walking individuals can pass through it. Next, string the fake web across the PVC pipe to create the full tunnel effect! Then place as many creepy crawlers on the inside of the tunnel as you’d like. What makes this decoration so easy is that spiderwebs don’t need to be perfect, so there isn’t one particular way to make one!

Create a Labyrinth to Get Lost In
And by a labyrinth, we mean a crazy amount of long balloons hanging from the ceiling. When creating a haunted house, all you have to do is tap into everyday things that people consider “spooky.” Not able to see what’s at the end of the hall when the lights are out? Very spooky!
To create a labyrinth, you can blow up long, glow-in-the-dark balloons and just hang them from the ceiling with painters tape! Just make sure that the balloons don’t hang so low that they obstruct the wheels from moving forward or hands that are pushing wheels forward. Hanging them to be in the viewer's sight when in a seating position is the perfect height. Then turn the lights off and let the party begin!

Lay Out the Grim Reaper’s Lair
The most important thing to keep in mind for a DIY wheelchair accessible haunted house is to keep the floors clear of obstacles and the doorways and halls wide enough for a wheelchair user to maneuver around. Turning a long hallway into the Grim Reaper’s Lair is the perfect example of this!
This section of the haunted house can be with lights on or off, as long as you can see a line of Grim Reapers down the hallway! To create the Grim Reapers for both sides of the hallway, you need multiple mannequins lined up shoulder-to-shoulder. If you don’t have a dozen mannequins readily available, like most people, you can stack empty milk jugs on top of each other to create a human shape. Don’t forget to attach two on the top sides for shoulders and one of the top for a head! Next, you can put a skeleton mask where the head should be, and drape a black hooded robe over the milk jugs. With this trick, nothing has to jump out to make the lair scary, making it perfect for younger individuals who use assistive mobility devices and need a clear path.

Map Out a Maze
Once again, as humans, we’re all a little scared of not knowing what lies ahead and it can be scary to get lost. That’s why a maze is a great addition to a DIY haunted house! To get the maze started, you’ll need a big enough space for a maze, like a backyard or a street that’s been blocked off.
Once you have a big enough space, start setting up PVC pipe in the formation of the maze you want. It may be easiest to draw the maze out on paper to help you map out where the PVC pipe should go. Then wrap black tarp around the PVC pipe to create the “walls” of the maze. After that is done, you can have fun painting all the goblins and ghouls you want in glow-in-the-dark paint! Early trick-or-treaters can walk through the maze of black tarp, and as the sun sets, the creatures come out to play for anyone visiting the maze at night!

Make a Sign for House Rules
This last idea isn’t anything scary, but may be very helpful for children of all abilities and their parents. Create a list of house rules so children and their parents know what to expect when entering the haunted house. This can be on spooky signs on the side of a tree, or words carved into a DIY tombstone. Either way, the most important part is setting expectations.
You can get creative with the list stating things like, “Don’t reach for anything in the house and nothing will reach out for you!” Or “Do not run or we’ll run after you!” Whatever rules you choose to lay out, we recommend there is also a line stating, “Children with all abilities are welcome here!” It’s not a rule, but it certainly comforts parents knowing that they won’t have to worry as their child with an assistive mobility device enters.
At EZ-ACCESS, we’re always striving to help create accessible spaces for individuals of all abilities.
We hope that these wheelchair accessible DIY ideas for a haunted house make for a spooktacular and safe Halloween!


